Send PHP form data to email id using PHP mailer
Hello friends, In this tutorial, we are going to learn that how to send contacts from data to a specific email id using PHP mailer. we have already a PHP mail function to perform this operation but the PHP mail function is not a better solution to receive data from web pages because it is not guaranteed to send mail successfully. so that nowadays PHP mailer is the most popular and most usable option to perform this type of operation.
In this tutorial, I will use jquery ajax to send requests to the PHP mailer functioning page so that we can submit form without refreshing the whole page. After sending data successfully we will Show a success message so that the user will confirm that form is submitted successfully.
PHP AJAX is used to send contacts from data to the back end or specific email id without refreshing the page. this is the beauty of jQuery AJAX.
First, we need to create an index.php and copy-paste the below code inside the body tag
As we are using bootstrap so you need to paste the above-provided bootstrap CDN inside the head tag and follow further tutorial step by step
<script src="https://code.jquery.com/jquery-3.6.0.min.js" integrity="sha256-/xUj+3OJU5yExlq6GSYGSHk7tPXikynS7ogEvDej/m4=" crossorigin="anonymous">
<div class="container-fluid pt-4">
<div class="row ">
<div class="col-md-6 offset-md-3 border p-4">
<form method="post" id="contact_frm">
<div class="show_success_msg">
</div>
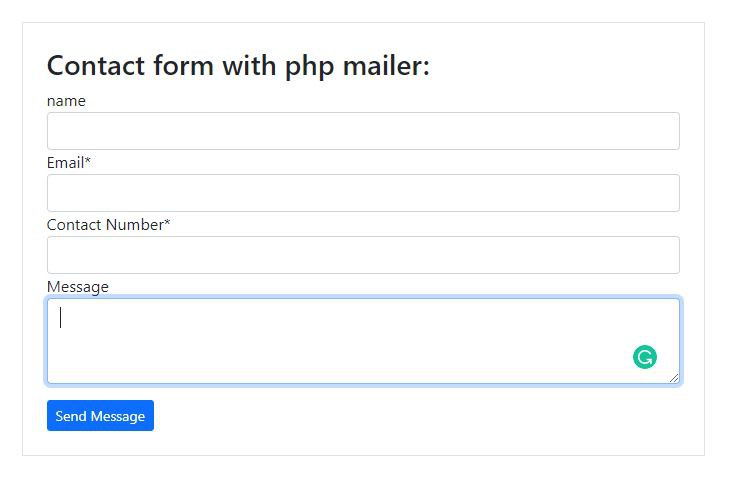
<h3>Contact form with php mailer:</h3>
<div class="form-row">
<div class="form-group col-md-12">
<label for="name">name</label>
<input type="text" name="name" id="name" class="form-control" placeholder="">
</div>
<div class="form-group col-md-12">
<label for="email">Email<span>*</span></label>
<input type="email" name="email" id="email" class="form-control" placeholder="">
</div>
<div class="form-group col-md-12">
<label for="contact">Contact Number<span>*</span></label>
<input type="text" class="form-control" name="contact" id="contact" placeholder="">
</div>
<div class="form-group col-md-12">
<label for="message">Message</label>
<input class="form-control" name="message" id="message" rows="3"></input>
</div>
<div class="col-sm-12 pt-3">
<button type="button" name="submit_btn" id="submit_btn" class="btn btn-sm btn-primary"> Send Message</button>
</div>
</div>
</form>
</div>
</div>
</div>
        $(document).ready(function () {
    $("#submit_btn").click(function () {
        console.log("clicked");
        var form = $('#contact_frm')[0];
        var data = new FormData(form);
        $.ajax({
            type: "POST",
            enctype: 'multipart/form-data',
            //url: "submition/topgear_contact_action.php",
            url: "contact_frm_action.php",
            data: data,
            processData: false,
            contentType: false,
            cache: false,
            timeout: 6000000,
            beforeSend: function () {
                // Show image container
                $("#submition_loader").show();
            },
            success: function (data) {
                $(document).ajaxStop(function () {
                    $(".show_success_msg").html(data);
                });
                // alert (data);
            },
            complete: function (data) {
                // Hide image container
                $("#submition_loader").hide();
            }
        });
    });
});
Finally, we need to create a PHP page with PHP mailer functions. if you are following this tutorial step by step just create contact_frm_action.php and coy paste the below code and change the hostname and sender email id.
        <?php
//ini_set('error_reporting', 'E_ALL');

date_default_timezone_set('Asia/Calcutta');

$name = $contact = $message = "";

if (isset($_POST['email'])) {

    $myDate = date('m/d/Y H:i:s');

    if (isset($_POST['name'])) {
        $name = trim($_POST['name']);
    }
    if (isset($_POST['email'])) {
        $email = trim($_POST['email']);
    }
    if (isset($_POST['contact'])) {
        $contact = trim($_POST['contact']);
    }
    if (isset($_POST['message'])) {
        $message = trim($_POST['message']);
    }


    /**
     * This example shows how to handle a simple contact form.
     */
    //Import PHPMailer classes into the global namespace
    //use PHPMailer\PHPMailer\PHPMailer;
    $msg = '';
    //Don't run this unless we're handling a form submission
    if (array_key_exists('email', $_POST)) {
        // date_default_timezone_set('Etc/UTC');

        require 'PHPMailer/PHPMailerAutoload.php';

        $mail = new PHPMailer();

        //$mail->isSMTP();
        $mail->Host = 'bootstrapfriendly.com';
        $mail->SMTPAuth = false;
        $mail->SMTPAutoTLS = false;
        $mail->Port = 25;

        $mail->Username = '[email protected]';
        // $mail->Password = '';   // password is optional


        //Use a fixed address in your own domain as the from address
        //**DO NOT** use the submitter's address here as it will be forgery
        //and will cause your messages to fail SPF checks
        $mail->setFrom('[email protected]', 'bootstrapfriendly');


        $mail->addAddress('[email protected]', 'bootstrapfriendly');
        $mail->addAddress('[email protected]', 'bootstrapfriendly');


        //Put the submitter's address in a reply-to header
        //This will fail if the address provided is invalid,
        //in which case we should ignore the whole request
        if ($mail->addReplyTo($_POST['email'], 'bootstrapfriendly')) {
            $mail->Subject = 'Contact Request from bootstrapfriendly demo form';
            //Keep it simple - don't use HTML
            $mail->isHTML(true);
            //Build a simple message body
            $mail->Body = "


                <table style=' border:5px solid #0033f1; width:440px; margin:auto; padding:15px; font-size:17px; border-radius:6px; background: linear-gradient(rgba(255,255,255,.7), rgba(255,255,255,.7)); background-size: contain; background-repeat: no-repeat; background-position: center; color:#222;'>
                     <tr>
                        <td style='padding:8px; border:1px solid #ccc;'>Name:</td>
                        <td style='padding:8px;border:1px solid #ccc;'>   {$_POST['name']} </td>
                    </tr>
                    <tr>
                        <td style='padding:8px; border:1px solid #ccc;'>Email ID :</td>
                        <td style='padding:8px;border:1px solid #ccc;'>   {$_POST['email']} </td>
                    </tr>
                    <tr>
                        <td style='padding:8px; border:1px solid #ccc;'>Contact No.:</td>
                        <td style='padding:8px;border:1px solid #ccc;'>   {$_POST['contact']} </td>
                    </tr>
                    <tr>
                        <td style='padding:8px; border:1px solid #ccc;'>Message:</td>
                        <td style='padding:8px;border:1px solid #ccc;'>   {$_POST['message']} </td>
                    </tr>
                     <tr>
                        <td style='padding:8px; border:1px solid #ccc;'>Query  Date :</td>
                        <td style='padding:8px;border:1px solid #ccc;'> $myDate </td>
                    </tr>
                </table>

                ";
            //Send the message, check for errors
            if (!$mail->send()) {
                //The reason for failing to send will be in $mail->ErrorInfo
                //but you shouldn't display errors to users - process the error, log it on your server.
                echo "<b class='text-danger'>Sorry, something went wrong. Please try again later.</b>";
            } else {

                echo "<b class='text-success'>message sent successfully </b>";
            }
        } else {

            echo "<b class='text-danger'>Invalid email address, message ignored.</b>";
        }
    }
} else {
    echo "<b class='text-danger'>Sorry, something went wrong. Please try again later.</b>";
}