Form with Signature Pad | E-Signature Pad using Jquery UI and PHP
in this article, we will create a form and will implement a Signature pad with jquery UI where users can create a digital signature and we will upload the signature image in PNG format. and we will also submit the data into the database so that further we send an email with that signature to the user.
For this we will follow the below-mentioned step:
- Step 01: create a database and table
- step 02: Create an HTML form with a name and signature pad
- step 03: Initialize the signature pad using jquery
- step 04: create an upload.php file to process the data
Step 01: create a database and table
Just create a database and in the SQL tab past the below-mentioned code and run
        CREATE TABLE `employee_sign` (
  `id` int(11) NOT NULL,
  `name` varchar(100) NOT NULL,
  `signature_img` varchar(255) NOT NULL
) ENGINE=InnoDB DEFAULT CHARSET=utf8mb4;


ALTER TABLE `employee_sign`
  ADD PRIMARY KEY (`id`);

  ALTER TABLE `employee_sign`
  MODIFY `id` int(11) NOT NULL AUTO_INCREMENT, AUTO_INCREMENT=2;
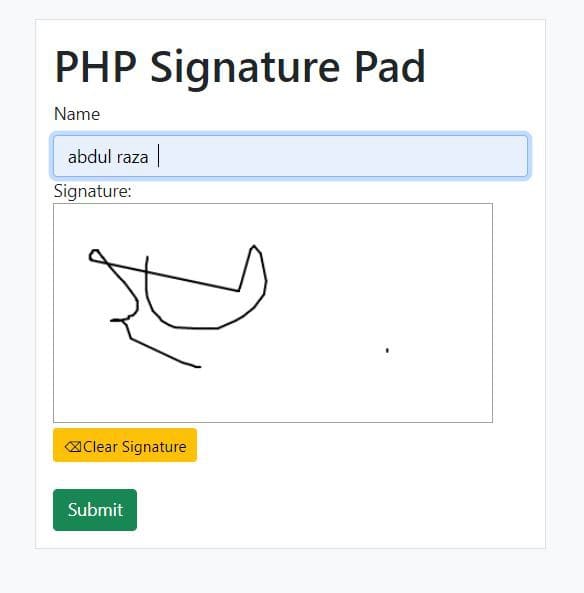
Step 02: Create an HTML form with a name and signature pad
Now we will create an HTML form with bootstrap and will implement the Signature pad
Just create an index.php file and paste the above-mentioned header link above mentioned header link I will provide in the download folder below this page.
inside the body, tag paste the below code
        <!-- Bootstrap CSS -->
<link href="https://cdn.jsdelivr.net/npm/[email protected]/dist/css/bootstrap.min.css" rel="stylesheet">

<!-- jquery cdn -->
http://ajax.googleapis.com/ajax/libs/jquery/1.12.4/jquery.min.js

<!-- jquery ui css cdn  -->
<link type="text/css" href="http://ajax.googleapis.com/ajax/libs/jqueryui/1.12.1/themes/south-street/jquery-ui.css" rel="stylesheet">

<!-- jquery ui js cdn  -->
http://ajax.googleapis.com/ajax/libs/jqueryui/1.12.1/themes/south-street/jquery-ui.css

<!-- signature library js -->
asset/js/jquery.signature.min.js

<!-- signature library css -->
<link rel="stylesheet" type="text/css" href="asset/css/jquery.signature.css">

<!--Include above in header-->

<div class="container p-4">

    <div class="row">
        <div class="col-md-5 border p-3  bg-white">
            <form method="POST" action="upload.php">
                <h1>PHP Signature Pad</h1>
                <div class="col-md-12">
                    <label for="name" class="form-label">Name</label>
                    <input type="text" class="form-control" id="name" name="name" required>
                </div>
                <div class="col-md-12">
                    <label class="" for="">Signature:</label>
                    <br />
                    <div id="sig"></div>
                    <br />

                    <input type="text" id="signature64" name="signature" style="display: none">
                    <div class="col-12">
                        <button class="btn btn-sm btn-warning" id="clear">⌫Clear Signature</button>
                    </div>
                </div>

                <br />
                <button type="submit" name="submit" class="btn btn-success">Submit</button>
            </form>
        </div>
    </div>

</div>
step 03: Initialize the signature pad using jquery
simply copy the below code and paste it above the body closing tag in the index.php file
        var sig = $('#sig').signature({
    syncField: '#signature64',
    syncFormat: 'PNG'
});
$('#clear').click(function(e) {
    e.preventDefault();
    sig.signature('clear');
    $("#signature64").val('');
});
step 04: create an upload.php file to process the data
Finally, we have to create an upload.php file and paste the below code for processing the form.
Be sure we have to create a folder upload inside our folder root directory where we are uploading the image
        <?php
$con = mysqli_connect("localhost", "root", "", "php-signature-pad");
if (!$con) {
    echo "connection error";
}
if (isset($_POST['submit'])) {
    $name = $file = "";
    if (isset($_POST['name'])) {
        $name = $_POST['name'];
    }


    $folderPath = "upload/";
    $image_parts = explode(";base64,", $_POST['signature']);
    $image_type_aux = explode("image/", $image_parts[0]);

    $image_type = $image_type_aux[1];

    $image_base64 = base64_decode($image_parts[1]);

    $file = $folderPath . $name . "_" . uniqid() . '.' . $image_type;

    file_put_contents($file, $image_base64);
    echo "Signature Uploaded Successfully.";


    $sql = "INSERT INTO employee_sign(name, signature_img) VALUES ('$name', '$file')";
    $query = mysqli_query($con, $sql);
}